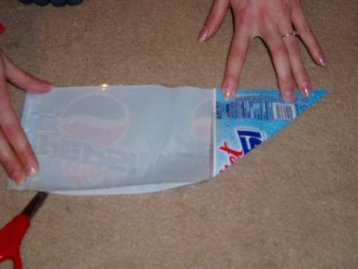
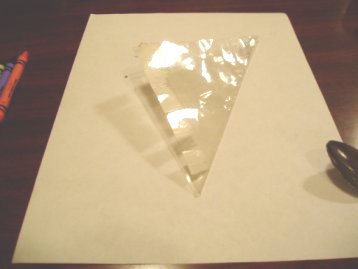
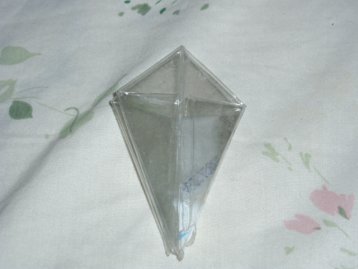
Step #1

1a Cut the center portion out of a pop bottle. Any size will do, but the bigger it is, the easier it will be to work with. Note that precision is the key to making good peace cranes, as well as keeping the frustration level within reason. On this step, that means trying to keep the cuts as straight as possible. You can use the edge of the wrapper or the crease as guidelines.

1b lay the center portion out flat (you’ll need to hold it down) and recycle or discard the ends.
Step #2

2a Folding from one corner so that the right edge (in this picture) is flush with the top edge creates an isosceles triangle that will open back up into a perfect square.

2b cut along the left edge of the triangle to create the square. Repeat 2a and 2b for multiple squares if your bottle size allows and your brain wants you to.
Step #3

3a Remove wrapper.

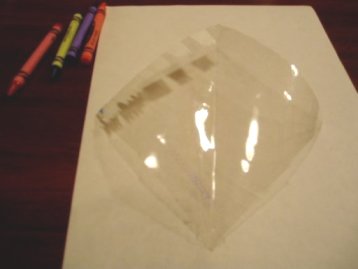
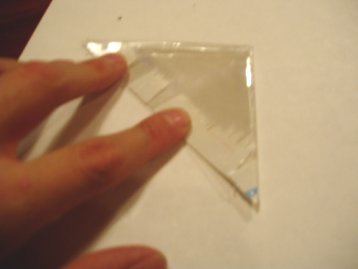
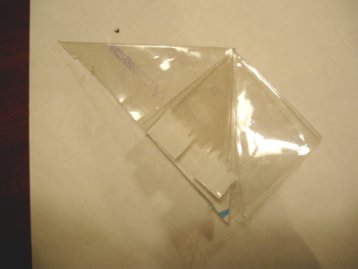
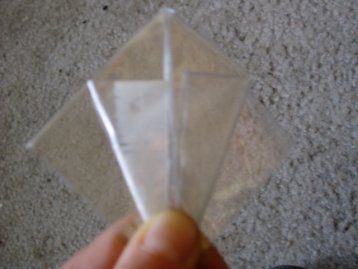
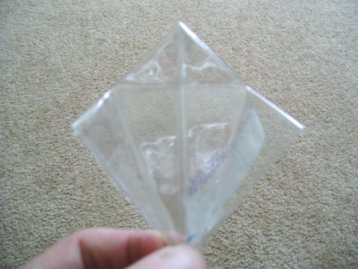
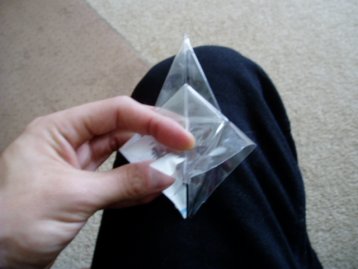
3b open into a square. Here I would recommend touching up to make as perfect a square as possible.
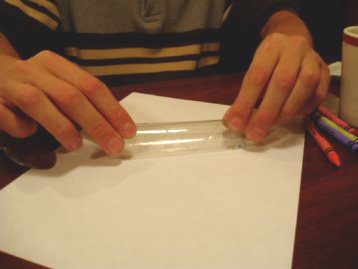
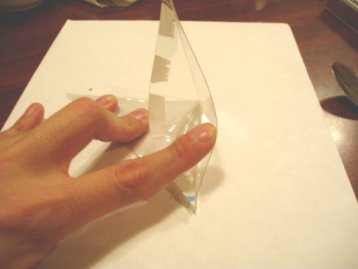
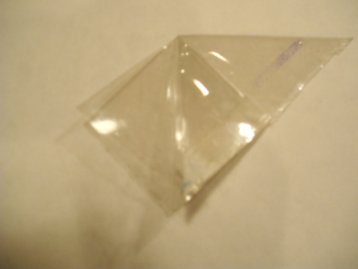
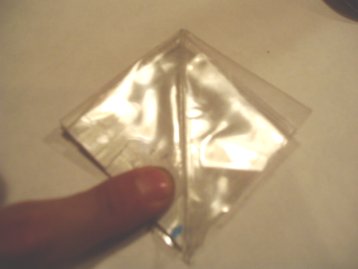
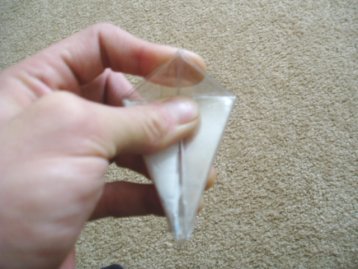
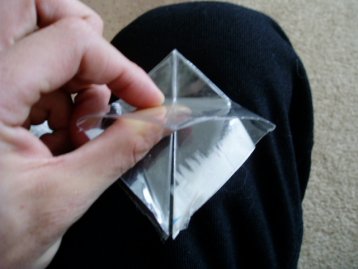
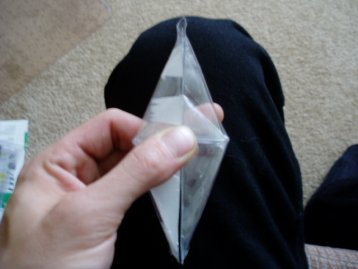
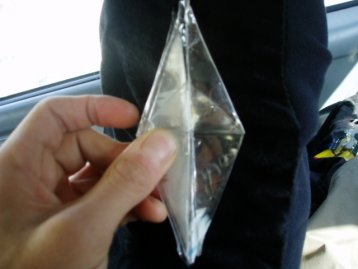
Step #4

4 Rolling the plastic in various directions may eventually lead you to some semblance of flatness, which will make your future crane much easier to work with. I’d recommend at least three tight rolls in every direction.
Step #5

5a Shows a reasonably flat square folded in half along the diagonal

5b Fold this triangle in half across it’s center line (from pointy corner to pointy corner).
Step #6

6 You should be able to tell just how precise your original square was by this point. If the lines and angles aren’t matching up well, you might consider redoing the original square.
Step #7

7a Lift the top layer of your folded triangle while keeping the bottom layer down.

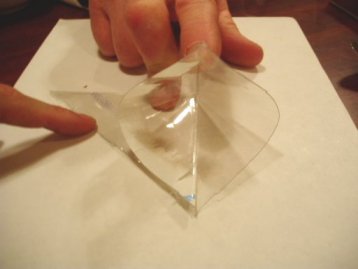
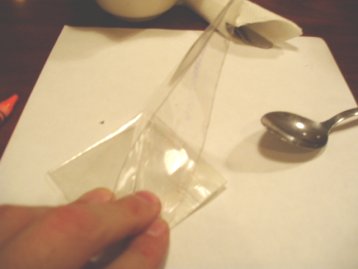
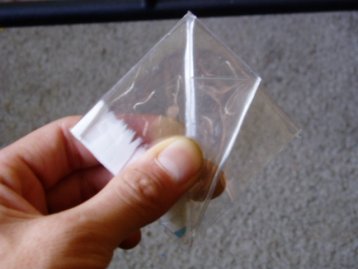
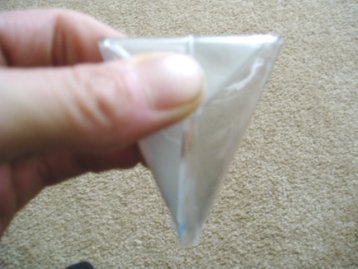
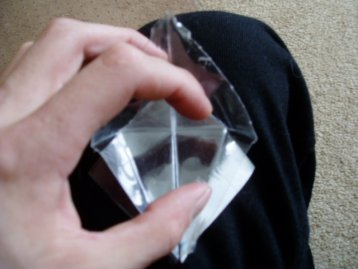
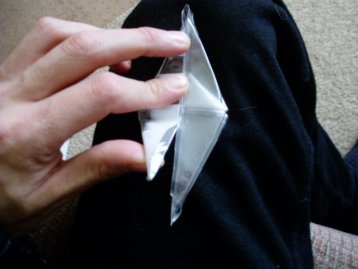
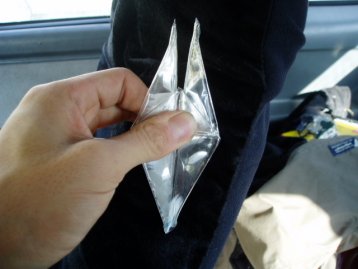
7b Open the top layer.
Step #8

8 Flatten the open portion, bringing the top corner flush with the bottom corner.
Step #9

9. Shows completed step.


Step #10

10 Flip the shape over horizontally (left to right)
Step #11

11-12 This is actually a repeat of 7a-9 from the opposite side.
Step #12

11-12 This is actually a repeat of 7a-9 from the opposite side.
Step #13

13 shows completed steps. Your square should have a top layer, a bottom layer, a folded left inside layer and a folded right inside layer.
Step #14

14 Fold your lower right edge flush with the vertical center line of the square.
Step #15

15 Fold your lower left edge flush with the vertical center line of the square.
Step #16

16a Flip it over.

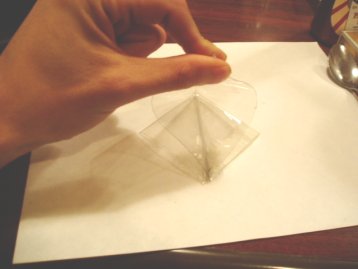
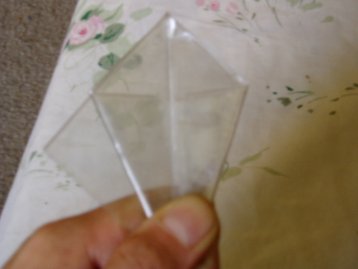
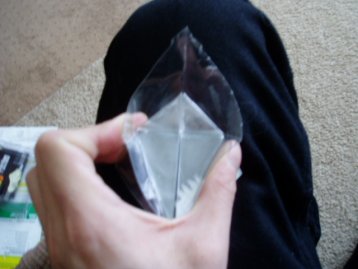
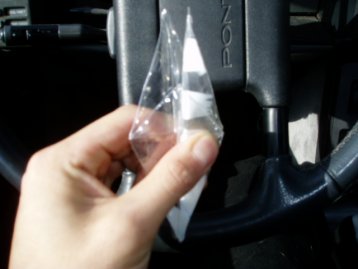
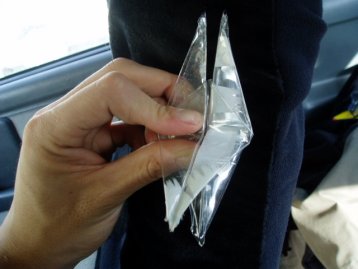
16bc Rrepeating 14 and 15, fold your lower right edge to the center line and fold your lower left edge to the center line.
Step #17

17 Shows completed shape after steps 16.
Step #18

18 Fold the top triangle down, creating a crease where the top flaps of folds 14-16 mark.


Step #19

19. Flip over and repeat step 18. Note that steps 14-19 are all designed specifically to create creases that will be used in steps 21-25.
Step #20

20 Unfold all flaps from steps 14-19, which makes a shape that's just like the square that you had on step 13 with several creases. It may be useful to make these folds several times, and you might want to use a spoon or something to really make them fold in to the plastic, as the next step can be quite challenging if the plastic doesn’t remember your creases.
Step #21

21 Lift the top layer of the bottom corner away from the other layers. There is only one horizontal crease, which should be where the plastic naturally folds.
Step #22

22-24 Open wider. The creases created on steps 14-19 dictate the shape you’re moving to. Note that the creases on the upper flap will have to be reversed.
Step #23

22-24 Open wider. The creases created on steps 14-19 dictate the shape you’re moving to. Note that the creases on the upper flap will have to be reversed.
Step #24

22-24 Open wider. The creases created on steps 14-19 dictate the shape you’re moving to. Note that the creases on the upper flap will have to be reversed.
Step #25

25 Flip it over.
Step #26

26-27 Same as 22-24.
Step #27

26-27 Same as 22-24.
Step #28

28 Keep the bottom flaps that look like legs on the bottom.
Step #29

29 Fold the left corner across the vertical center line to the right corner. This should leave you with three layers on the right side and one layer on the left.
Step #30

30 Turn it over, now you have three layers on the left and one on the right.
Step #31

31 Fold the left corner across the vertical center line to the right corner like step 29. This leaves you with obvious head, tail and wings (pointing down), and an equal number of layers on each side.
Step #32

32-33 Lift the front wing (bottom point) up and folded it to the top point.
Step #33

32-33 Lift the front wing (bottom point) up and folded it to the top point.
Step #34

34 Turn it over.
Step #35

35 Repeat 32-33
Step #36

36 Let the wings down to half way, and repeat creases until they stay where you want them to. From here you can actually skip to step 42 and have what I think is the original unmodified crane.


Step #37

37 Return the wings to pointing down.
Step #38

38 Now this part’s a bit tricky. Essentiallly, you hold tightly the center of the crane, and pull the head or tail out. When it gets to about half way (or a 45 degree angle), crease it.
Step #39

39 Repeat with opposite side.
Step #40

40-41 Bring the wings back to top position. This will help define the creases again. Release the wings and leave them where you want them.
Step #41

40-41 Bring the wings back to top position. This will help define the creases again. Release the wings and leave them where you want them.
Step #42

42-44 These steps attempt to illustrate the creation of the head. Basically, it’s taking one of the head/tail points, and inverting it on itself Imagine taking the nose of the crane toward the breast of the crane, but stopping half way and creating creases wherever you end up.
Step #43

42-44 These steps attempt to illustrate the creation of the head. Basically, it’s taking one of the head/tail points, and inverting it on itself Imagine taking the nose of the crane toward the breast of the crane, but stopping half way and creating creases wherever you end up.
Step #44

42-44 These steps attempt to illustrate the creation of the head. Basically, it’s taking one of the head/tail points, and inverting it on itself Imagine taking the nose of the crane toward the breast of the crane, but stopping half way and creating creases wherever you end up.
Step #45

45. There’s a finished product. Remember that precision at every step is the key (notice that I was in a bit of a hurry on this one), and some of these can come out exceptionally beautiful. I’d like to try a pop can next. Let me know if anyone out there succeed’s in that endeavor or has any other cool ideas. Now we have peace cranes that last as long as our garbage does!


Click back to return to where you came from.
Peacehq Main Menu
Site Index